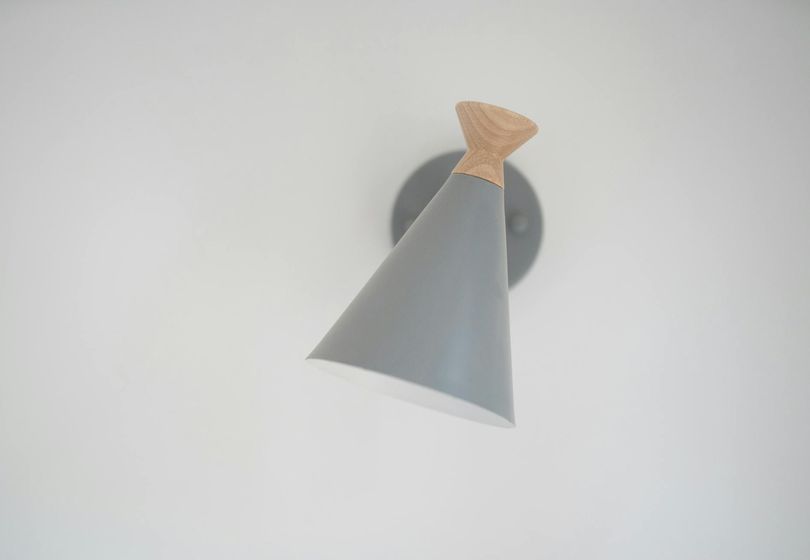
Are you looking to upgrade the lighting in your home quickly and easily? Replacing an old light fitting can make a significant difference in the ambiance of your space. With the right tools and a little know-how, you can tackle this DIY lighting project in just 15 minutes. In this guide, we provide expert tips on how to replace a light fitting efficiently and safely.
When it comes to home improvement projects, lighting installation is a popular choice for enhancing the look and feel of your interior. Whether you're looking to update a ceiling light in the living room, bedroom, or kitchen, replacing a light fitting is a simple yet effective way to give your space a facelift.
Before you begin the process of swapping out your old light fitting for a new one, it's essential to prioritise electrical safety. Remember to switch off the power to the fitting at the mains before you start working. This precaution will prevent any accidents and ensure a smooth installation process.
Here are some expert tips to help you replace a light fitting in just 15 minutes:
- Gather the necessary tools: Before you begin, make sure you have all the required tools on hand. This may include a screwdriver, wire strippers, electrical tape, and a voltage tester. Having everything you need ready will streamline the process.
- Remove the old fitting: Start by taking down the old light fitting. Carefully unscrew any screws holding it in place and disconnect the wires. Once the old fitting is removed, it's time to prepare for the new one.
- Install the new fitting: Follow the instructions that came with your new light fitting to install it correctly. Make sure to match the wires – typically black to black, white to white, and green or copper to the earth wire. Secure the fitting in place using the provided hardware.
- Test the new fitting: After installing the new light fitting, switch the power back on and test the light to ensure it is working correctly. If everything looks good, you're all set to enjoy your newly upgraded lighting.
- Consider energy-efficient options: When replacing your light fitting, consider upgrading to energy-efficient lighting options such as LED bulbs. Not only will this help you save on energy costs, but it will also reduce your environmental footprint.
By following these expert tips, you can complete a quick home repair project that adds a touch of style and functionality to your space. Whether you're looking to modernise your interior or simply replace a dated fitting, DIY lighting projects like this one are a great way to make a difference in your home.
In conclusion, swapping out an old light fitting for a new one is a straightforward home improvement task that can have a big impact. By prioritising safety, gathering the right tools, and following the installation steps, you can upgrade your lighting in just 15 minutes. With a newfound sense of accomplishment and a brighter space, you'll appreciate the interior upgrade that a new light fitting brings.
